
GitをWindowsにインストールする方法を書きます。Gitはバージョン管理の1つです。使いこなすには少し時間がかかりますが、非常に便利なツールです。
今回は、Git 2.39をインストールします。
- Windows10 Home 64bit
Gitのダウンロード
Git は、こちらのサイトからダウンロードします。
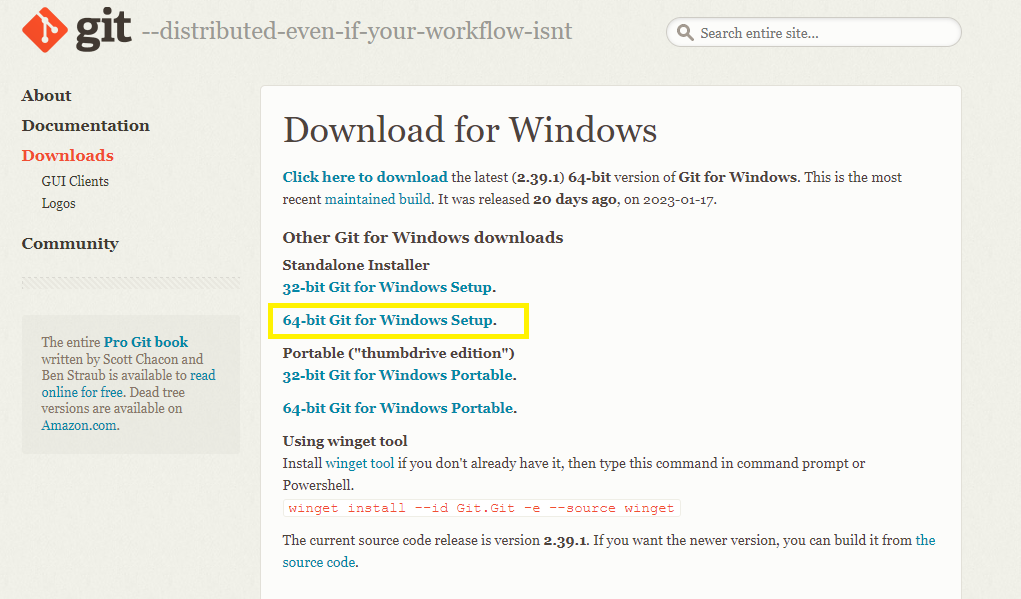
Git-2.39.1-64-bit.exe をダウンロードしました。
Gitのインストール
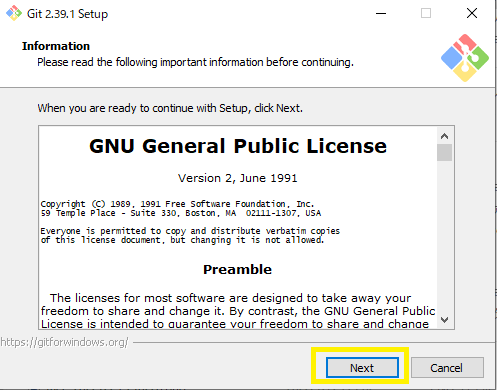
起動
ダウンロードしたexeファイルを起動します。ライセンスの確認画面を表示します。読み終わったらNextを押します。
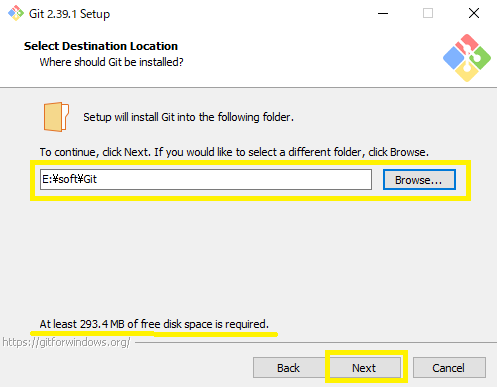
インストール先の設定
Gitのインストール先を設定します。Cドライブにインストールしたくなかったので、別のドライブを選択しました。また、インストールには293.4MB必要と表示されました。
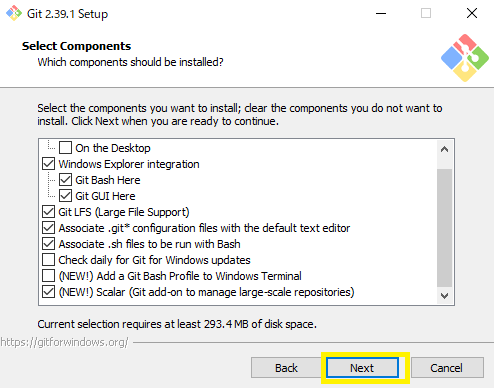
インストールするコンポーネント
デフォルトから変更せず、Nextを押します。
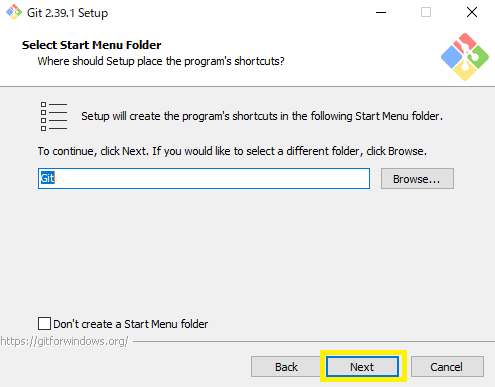
スタートメニューフォルダの選択
特に何も変更せず、Nextを押します。
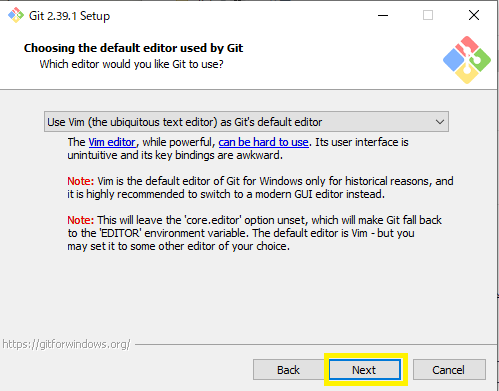
Gitで使用するデフォルトエディタの選択
何も変更せず、Nextを押します。基本Gitに付随するエディタは使いません。
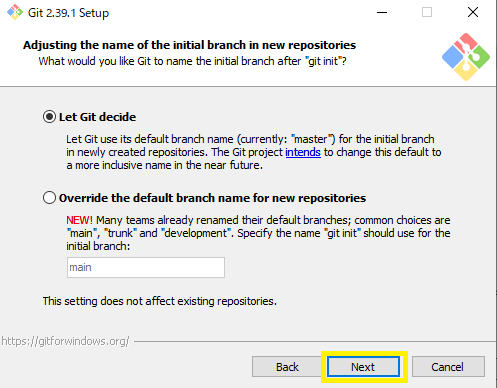
新リポジトリの初期ブランチの名前を調整
初期ブランチはmasterから変更しません。Nextを押します。
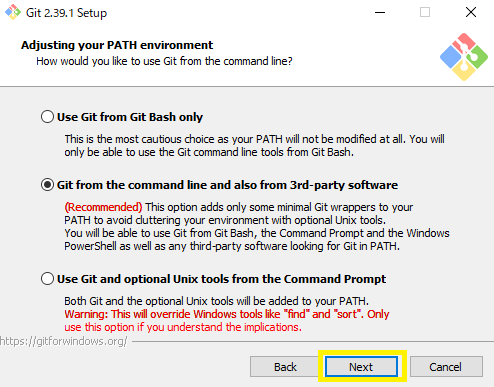
コマンドラインからのGitの使用方法
コマンドラインまたは3rdパーティソフトウェアからの利用で、デフォルトから変更しません。Nextを押します。
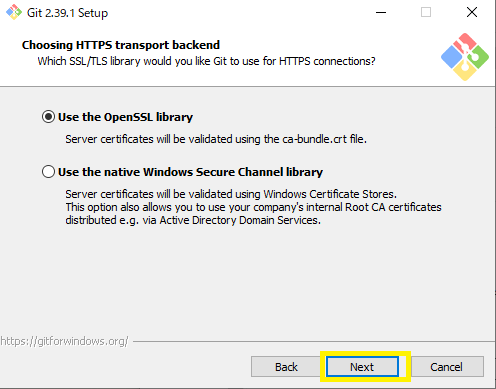
HTTPSの選択
HTTPS接続の選択をします。OpenSSLライブラリの使用でデフォルトから変更しません。Nextを押します。
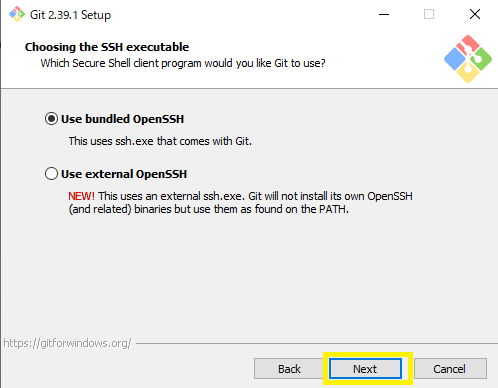
実行SSHの選択
Gitに梱包されているOpenSSHを使用します。デフォルトで変更せず、Nextを押します。
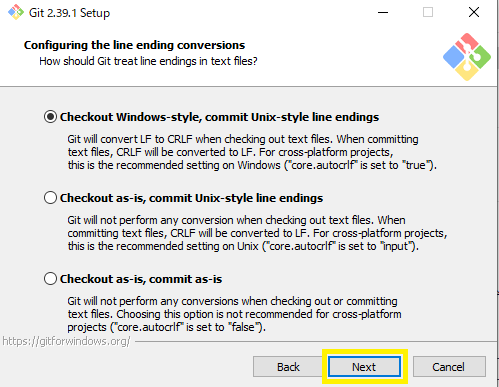
改行の設定
Windows-styleで変更しません。Nextを押します。
Git Bash で使用するターミナルの設定
MSYS2 を使用で変更しません。Nextを押します。

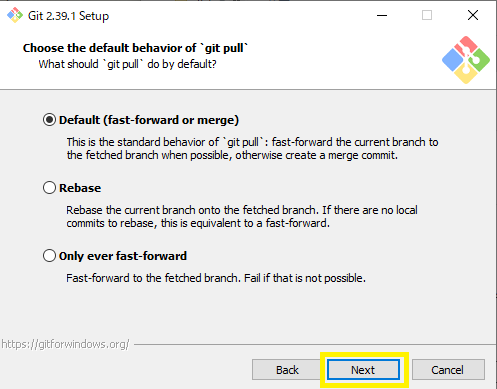
git pull のデフォルトの振る舞いの選択
fast-forward or merge で変更しません。Nextを押します。
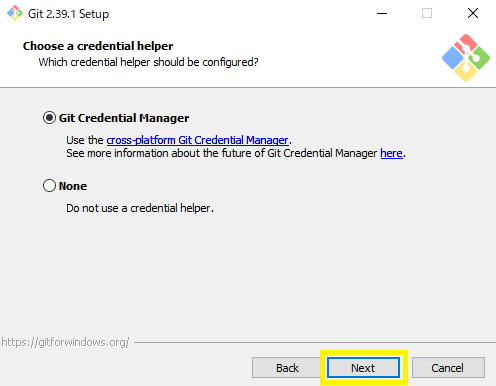
認証の選択
デフォルトで選択しません。Nextを押します。
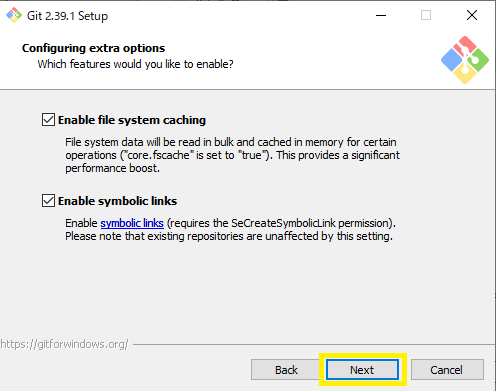
外部オプションの選択
デフォルトから変更せず、Nextを押します。
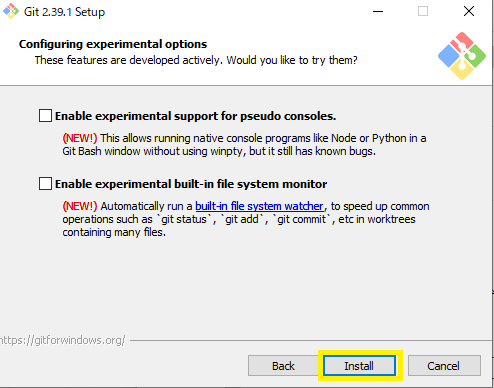
外部オプションの選択2
デフォルトから変更しません。Installを押します。
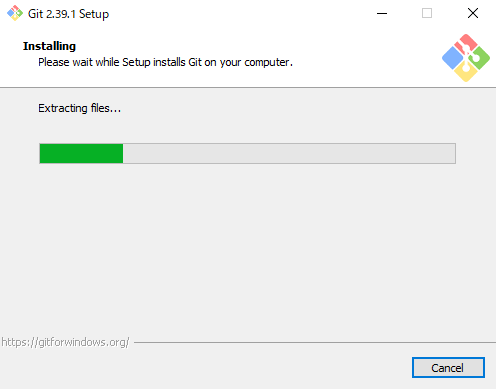
インストールの実行
しばらく待ちます。
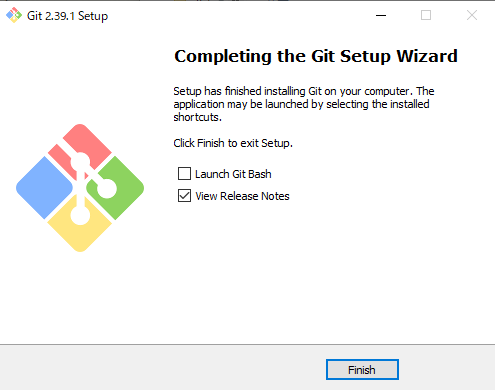
終わったら↓の画面が表示されます。インストール終了です。
まとめ
Gitのインストール方法を書きました。


コメント