さくらVPS Ubuntu環境でメールサーバーを構築します。メールの送受信をできるようにします。
PostfixとDovecot を使用します。
やったことを備忘録として残しておきます。
- さくらVPS Ubuntu環境でメールサーバーを構築
- SSL/TLS対応
- Gmailにも送信する
- Outlook からメールの送受信できるようにする
- さくらVPS
- Ubuntu22.04
以下のサイトを参考にしました。


さくらVPS 設定
ポート設定
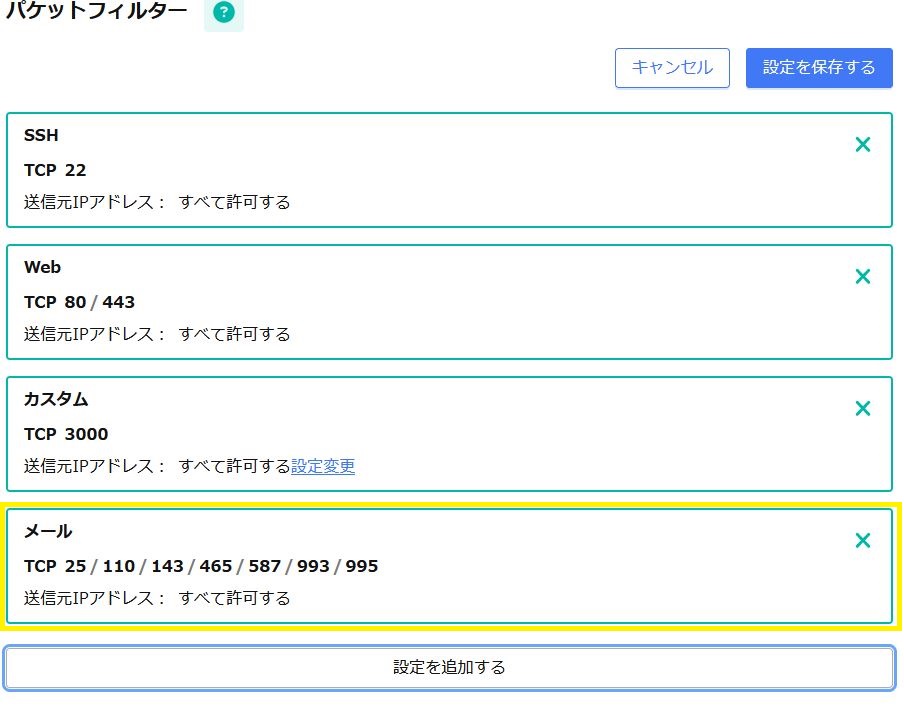
まずは、さくらVPSでポートの設定をします。これをしないと、VPS側でメールがはじかれてしまいます。
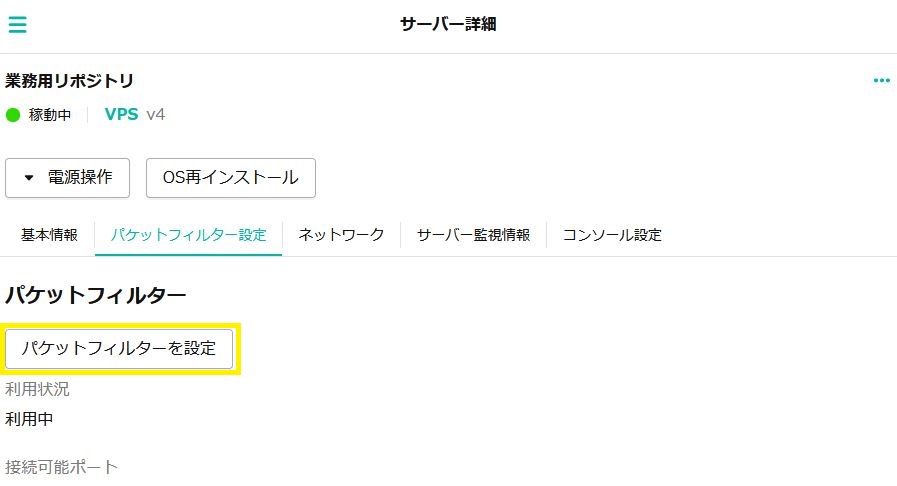
パケットフィルターの設定でメールを許可します。
SPFレコードの設定
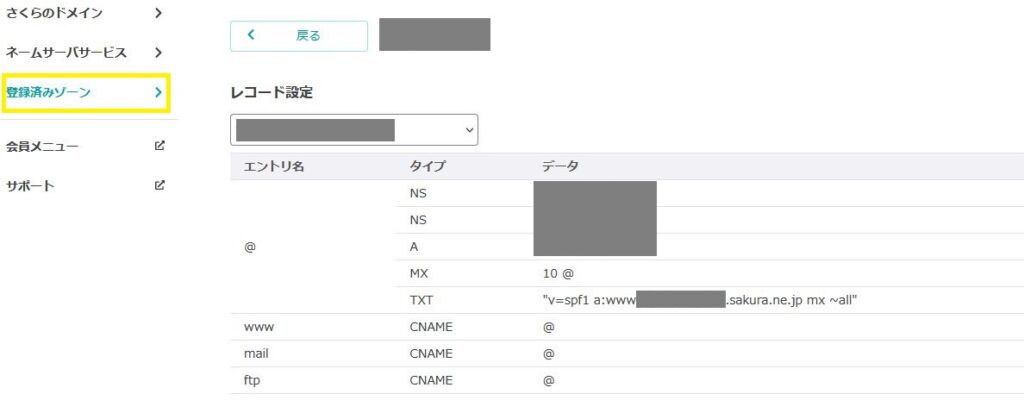
こちらのガイドラインから、Gmailに送信するための設定を行います。SPFレコードを追加します。
1日5000件以上メールを送ることは現状想定していません。SPFレコードの設定のみ行います。
さくらVPSのサイトを参考に行います。
登録済みゾーンにおいて、以下のレコードを追加します。
| エントリ名 | タイプ | データ |
|---|---|---|
| @ | TXT | v=spf1 a:www<ホスト名>.sakura.ne.jp mx ~all |
Postfixのインストール
インストール
まずは、Postfixをインストールします。
$ sudo apt install postfixインストール中に以下の画面が表示されました。ここでは、No configuration を選択します。
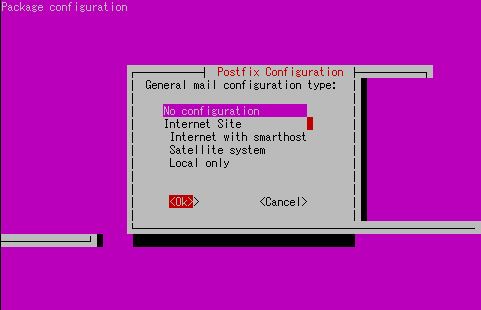
↓の画面でOKを選択します。
しばらくすると、インストールが完了します。
設定ファイル
/etc/postfix/main.cf を変更します。インストール後は存在しません。なので、同ディレクトリのmain.cf.protoをコピーします。
$ cd /etc/postfix
$ sudo cp main.cf.proto main.cf
main.cf を以下のように設定します。ドメイン名は、お名前.comで取得したものを使用しました。Apache構築時に取得した
mail_owner = postfix
myhostname = mail.ドメイン名
mydomain = ドメイン名
myorigin = $mydomain
inet_interfaces = all
mydestination = $myhostname, localhost.$mydomain, localhost, $mydomain
local_recipient_maps = unix:passwd.byname $alias_maps
mynetworks_style = subnet
mynetworks = 127.0.0.0/8
alias_maps = hash:/etc/aliases
alias_database = hash:/etc/aliases
home_mailbox = Maildir/
smtpd_banner = $myhostname ESMTP
newaliases_path = /usr/bin/newaliases
mailq_path = /usr/bin/mailq
setgid_group = postdrop

smtp_tls_security_level = may
smtp_tls_loglevel = 1
smtp_tls_note_starttls_offer = yes
smtpd_tls_cert_file = /etc/letsencrypt/live/ドメイン名/fullchain.pem
smtpd_tls_key_file = /etc/letsencrypt/live/ドメイン名/privkey.pem
smtpd_tls_received_header = yes
smtpd_tls_security_level = may
smtpd_tls_loglevel = 1

mua_client_restrictions =
mua_helo_restrictions =
mua_sender_restrictions =
master.cf を以下のように編集します。
submission inet n    -    n    -    -    smtpd // コメントアウト
  -o syslog_name=postfix/submission
  -o smtpd_tls_security_level=encrypt
  -o smtpd_sasl_auth_enable=yes
  -o smtpd_tls_auth_only=yes
  -o smtpd_reject_unlisted_recipient=no
  -o smtpd_client_restrictions=$mua_client_restrictions
  -o smtpd_helo_restrictions=$mua_helo_restrictions
  -o smtpd_sender_restrictions=$mua_sender_restrictions
  -o smtpd_recipient_restrictions=
  -o smtpd_relay_restrictions=permit_sasl_authenticated,reject
  -o milter_macro_daemon_name=ORIGINATING

smtps     inet  n       -       y       -       -       smtpd
  -o syslog_name=postfix/smtps
  -o smtpd_tls_wrappermode=yes
  -o smtpd_sasl_auth_enable=yes
  -o smtpd_reject_unlisted_recipient=no
  -o smtpd_client_restrictions=$mua_client_restrictions
  -o smtpd_helo_restrictions=$mua_helo_restrictions
  -o smtpd_sender_restrictions=$mua_sender_restrictions
  -o smtpd_recipient_restrictions=
  -o smtpd_relay_restrictions=permit_sasl_authenticated,reject
  -o milter_macro_daemon_name=ORIGINATING
再起動
Postfixの設定チェックをします。
$ sudo postfix checkメールエイリアスを再構築します。
$ sudo newaliasespostfixの再起動をします。
$ sudo systemctl restart postfixDovecot のインストール
インストール
次に、Dovecotをインストールします。
$ sudo apt install dovecot-common dovecot-imapd dovecot-pop3d設定ファイル
dovecot.conf の設定を変更します。
$ sudo vi /etc/dovecot/dovecot.conf

listen = *
10-auth.confの設定をします。
Outlookでログインするには、auth_username_format = %n の設定が必要です。この設定でログインするとき、@以降が消されます。Outlookから接続するとき、@以降のドメイン名も付随してログインしようとします。
imap-login: Disconnected: Connection closed (auth failed, 1 attempts in 4 secs): user=<XXX@YYY>, method=PLAIN, のようにuser に@以降のドメインが付随しています。これだとログインできないので、消す必要があります
こちらを参考にしました。
$ sudo vi /etc/dovecot/conf.d/10-auth.conf

# 10行目:コメント解除し変更(プレーンテキスト認証も許可する)
disable_plaintext_auth = no

# 100行目:追記
auth_mechanisms = login plain  #

auth_username_format = %n
10-mail.conf を編集します。
$ sudo vi /etc/dovecot/conf.d/10-mail.conf

# 30行目:Maildir形式に変更
mail_location = maildir:~/Maildir
10-master.conf を編集します。imap、pop3を無効にし、imaps、pos3sを有効にします。
$ sudo vi /etc/dovecot/conf.d/10-master.conf

service imap-login {
 inet_listener imap {
    port = 0
 }
 inet_listener imaps {
    port = 993
    ssl = yes
 }
}
service pop3-login {
 inet_listener pop3 {
    port = 0
    port = 110
 }
 inet_listener pop3s {
    port = 995
    ssl = yes
 }
}

# 96-98行目:コメント解除し追記
# Postfix smtp-auth
unix_listener /var/spool/postfix/private/auth {
    mode = 0666
    user = postfix
    group = postfix
}
10-ssl.conf を編集します。
$ sudo vi /etc/dovecot/conf.d/10-ssl.conf

ssl = yes

ssl_cert = </etc/letsencrypt/live/ドメイン名/fullchain.pem
ssl_key = </etc/letsencrypt/live/ドメイン名/privkey.pem
再起動
以下のコマンドでdovecotを再起動します。
$ sudo systemctl restart dovecot送受信テスト
mail コマンドで送受信テストを行います。
$ sudo apt install mailutils送信テスト
mailutils で送信テストをします。
$ mail 送信先のアドレス
CC :
Subject : Test
testtest
ローカルアドレス、gmailアドレスなどに送信できることを確認します。
受信テスト
自分宛てのメールは、Maildir/newディレクトリに保存されます。この中のファイルを見ることでメールの情報を確認します。
$ cd ~/Maildir/new
$ cat aaaaaa # aaaaaa にはファイル名
ユーザー追加
メールのユーザーを追加します。
Ubuntuのユーザーをそのまま追加します。また、パスワードも設定します。このユーザーがそのままメールのユーザーになります。
$ adduser ユーザー名Outlookログイン
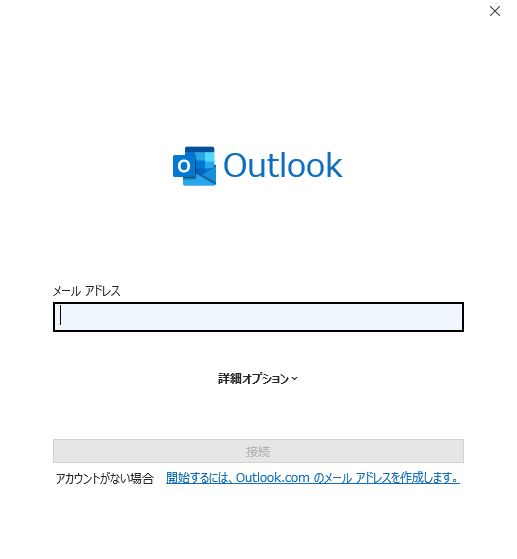
Outlookのメールアドレス追加において、メールアドレスは先ほど追加したユーザー名 + @ + postfixで設定したドメイン名 とします。
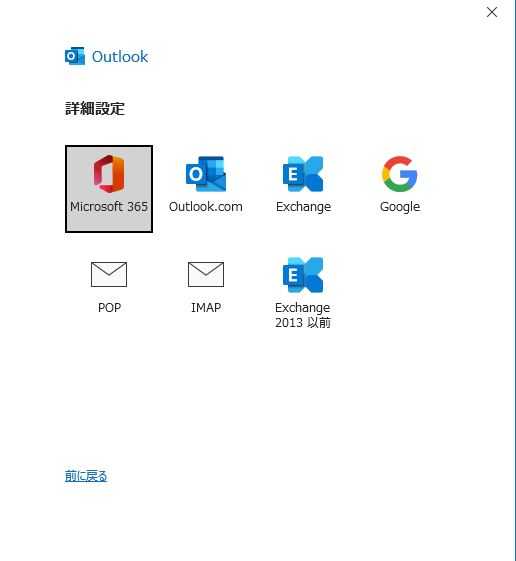
↓の画面が出てきたらIMAPを選択します。
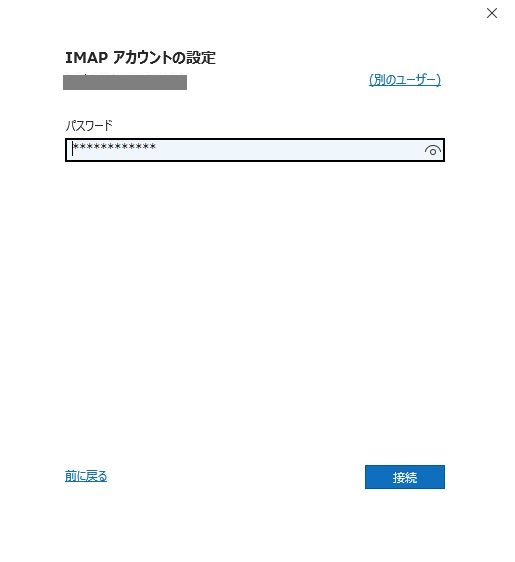
パスワードはユーザー追加で設定したものを入力します。これで、ログインできるはずです。できないなら、エラーログを頼りに設定してみてください。


コメント