WindowsPCにGitExtensionsをインストールする方法を書きます。
GitExtensions はGitを扱うためのGUIツールです。コマンドラインだけでもGitを操作することはできます。しかし、GUIツールを使った方が視覚的にわかりやすく、開発効率が上がります。
Git Extensions
Git Extensions
Git Extensions is a standalone UI tool for managing Git repositories
インストールに必要なもの
インストール環境
- Windows10 Home 64bit
- Git 2.39
目次
ダウンロード
GitHubからダウンロードします。
GitHub

Release v4.0.2 · gitextensions/gitextensions
Maintenance v4 release
https://github.com/gitextensions/gitextensions/blob/release/4.0/GitUI/Resources/ChangeLog.md#version-402-15-jan-2023
Requires: .NET 6.0 ...
GitExtensions-4.0.2.16100-25100ec1f.msi をダウンロードしました。

インストール
インストーラーの起動
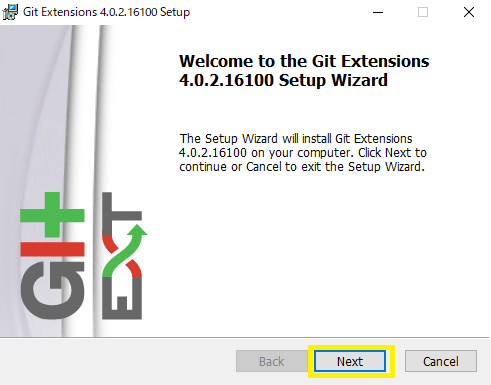
インストーラーを実行します。SetupWizardが起動します。Nextを押します。
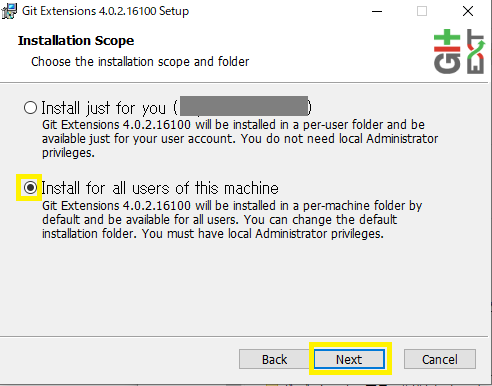
Installation Scope
ログインしているユーザーか全てのユーザーで使えるようにするか選択します。デフォルトと変更せず、全てのユーザーで使える選択をしました。Nextを押します。
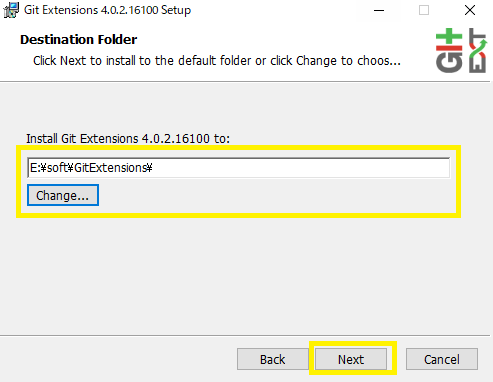
インストール先の設定
インストール先のフォルダを設定します。Cドライブにインストールしたくなかったので、別のドライブに変更しました。
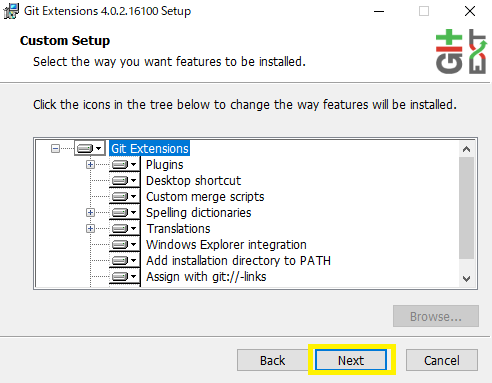
カスタムセットアップ
インストールする機能を選択します。ここは特に変更しません。Nextを押します。
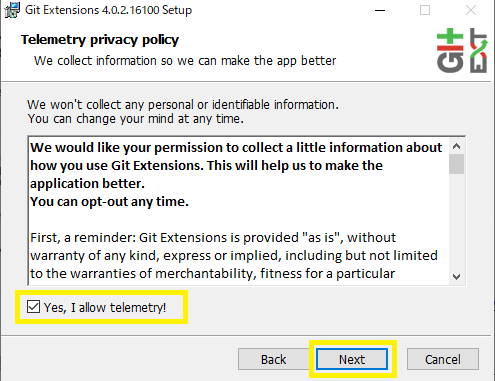
private policy
利用承諾の文章を読んで、「Yes, I allow telemetry!」にチェックを入れ、Nextを押します。
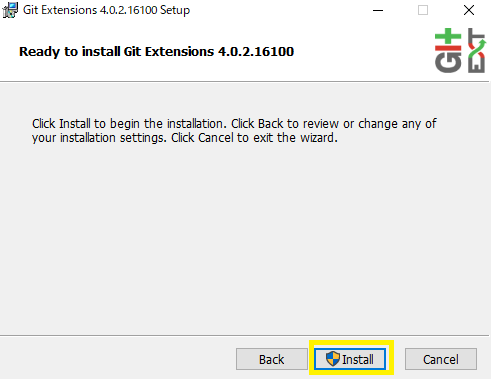
インストール実行
Install を押すとインストールが始まります。
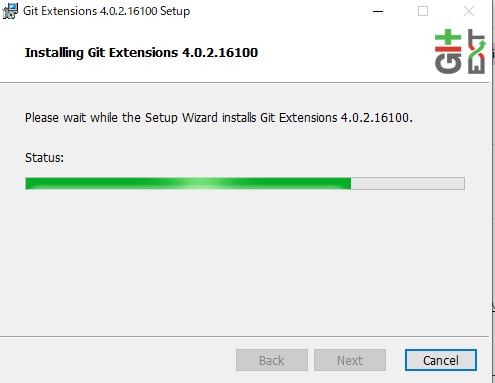
しばらく待ちます。
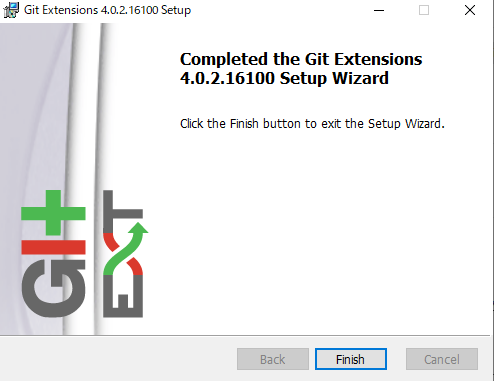
Finishを押してインストール完了です。
起動
言語設定
起動すると言語設定の画面が表示されます。Japanese を選択します。

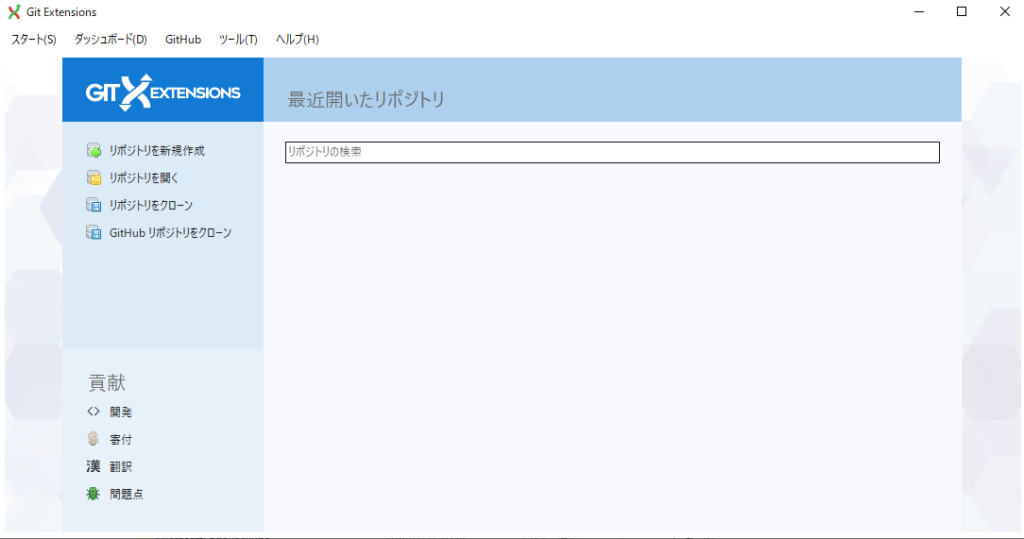
起動できました。
ツール→設定で設定項目の設定をします。全部正しく設定すれば↓のように表示されます。
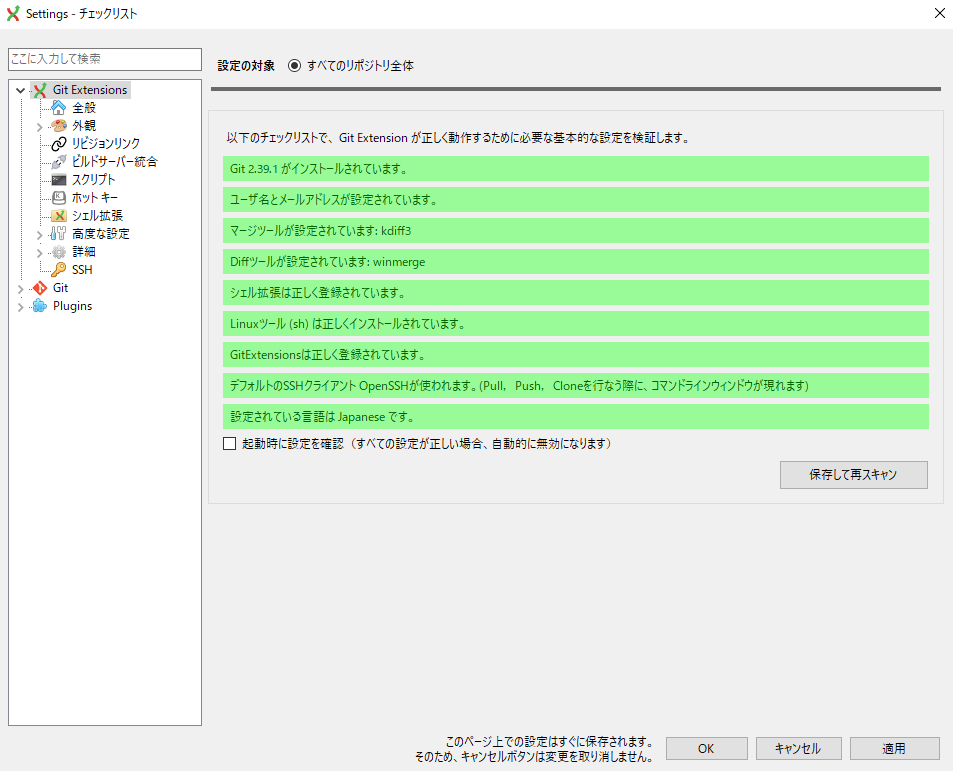
設定は以上で終了です。
まとめ
GitExtensions のインストール方法を書きました。


コメント